Enterprise 32 Data Collection
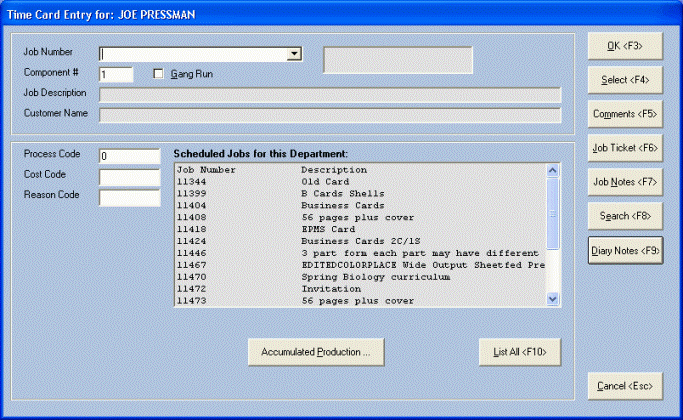
When a "Start Time Only" employee clicks the Production button to enter time, the system will display the "Time Card Entry" screen.
Time Card Entry Screen (Start Time Only Employee)

The "Scheduled Jobs for this Department" window may or may not display a list of scheduled jobs, depending on an option set in the Scheduling Module. If jobs are listed, the user may select a job and relevant data will be loaded into the screen. If Scheduled jobs are not listed the employee will select the job from the Job Number field drop down or type in the number.
The Start Time Only employee will enter data on the "Time Card Entry" screen (or search for information). When the employee clicks OK, the system will start the clock and will automatically begin to log time. Time will continue to accumulate, automatically, until the user either starts a new production process or clocks out for the day.
Note:
In the process of entering data on the Time Card Entry screen, the user will make selections from items listed in the display window. The following methods of selection will apply to all fields:
1. Double-click the item in the list, or
2. Highlight the item and then click the Select button, or
3. Drag-and-drop the selection to the appropriate field.
Using any of these methods will populate the appropriate field and will advance the cursor to the next field.
The following fields and functions will be displayed on the Time Card Entry screen
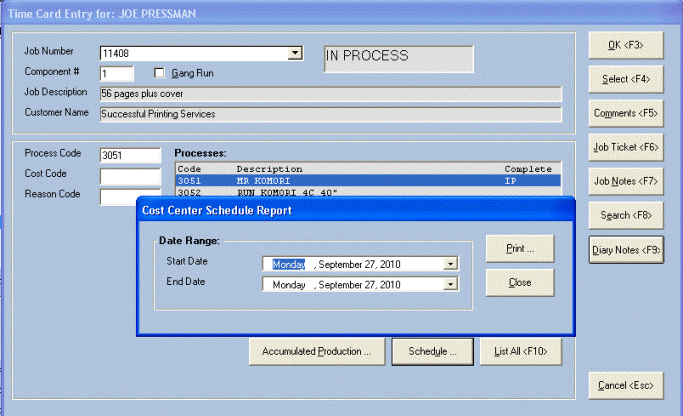
After data has been entered, the "Time Card Entry" screen will look similar to the following:
Time Card Entry Screen (with sample data)

Click OK to save the time card data or Cancel to exit the screen without saving. Use the Select button to select an item in the display window (or use drag-and-drop).
The system will allow the shop floor employee to enter comments regarding the task that they will be performing. Click the Comments button and the system will display the "Production Comments" screen. Enter a comment and click OK to save.
The system will allow the shop floor employees to view or print a job ticket for the job that they working on. This will allow an employee to verify that the job ticket that they are using is the latest for the job. lick Job Ticket and the system will display the Job Ticket screen.
Click Job Notes and the system will display the View Past Production Comments screen. This screen will display all production entries for the job whether or not the logged in employee has entered a comment.
Use the Search function to search for a process code. Click Search and the system will display the Process List screen. Make a selection as applicable.
Click Accumulated Production and the system will conveniently display all production entries that have been entered for the job.
With the cursor in the “Process Code” field. highlight a process in the list then click Schedule. The system will display the “Cost Center Workload Report” that will show schedule details for the specific Cost Center for the current date.
This button is a toggle that will display either processes for the job, for the component, or will show all default processes for the department.
The options (set in Job Costing) are: "Show only materials/processes pertinent to the job in Data Collection"; and, "Show only materials/processes pertinent to the component in Data Collection".
Note that the Diary Notes, Changes, Images, and Cust Notes buttons may be colored indicating that information has been entered in those areas. Click the button to see the information.
Click OK to complete the time card entry.