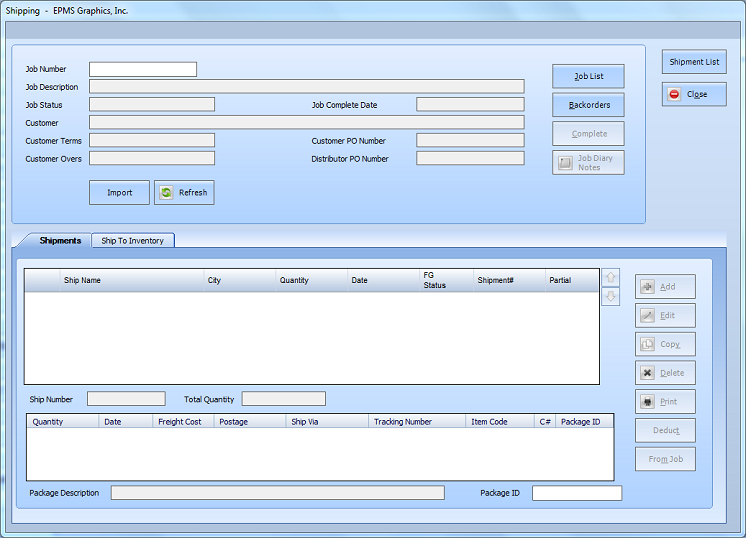
The Shipping Module will typically be used to ship printed or purchased materials to a customer. The order may or may
not include a Finished Goods component.
Perform the following steps to enter a shipment or to edit a previously entered shipment:
From the Enterprise 32 main opening screen, click the "Shipping" icon (or select File/Shipping) and the system will display a blank
"Shipping" screen.
Shipping Screen

Click Job List and the system will display the "Job List" screen.
Job List Screen
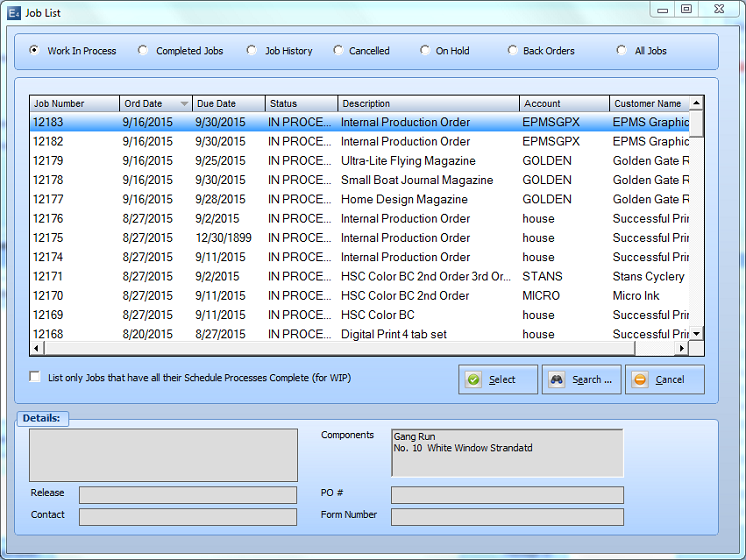
Select an appropriate Job Status, then select a job from the list. The system will load customer and job related information into fields
on the "Shipping" screen. The user may click Search to search for a job in the database.
Alternately, the user may enter data directly into the data fields.
Shipping Screen (Job Information Loaded)
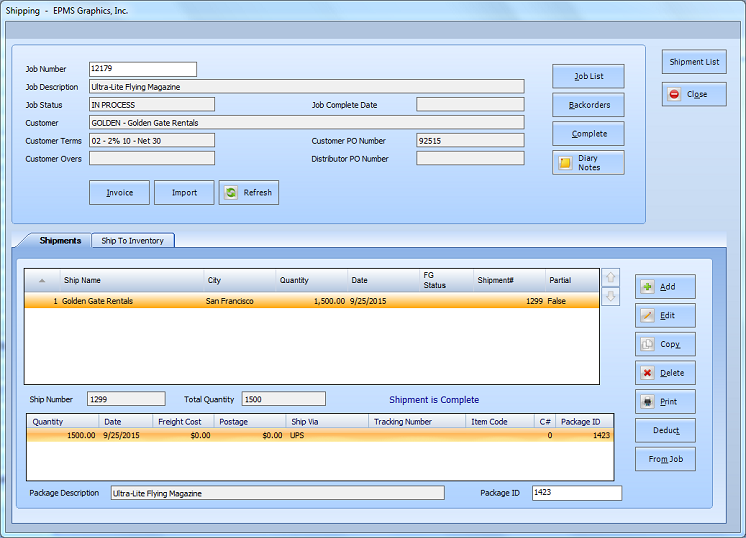
With the "Shipments" tab selected, click Add to add a shipment. Depending on whether the order was created from a previous job
or not, the system will display either the following "Shipment Options" screen or a screen minus the third "Pull from Previous" option.
View screens for "Single Shipment" Option
Shipment Options Screen
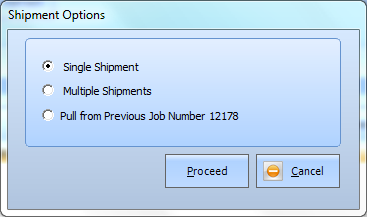
View screens for "Multiple Shipments" Option
Note that with this option the system will allow as many different addresses as desired but will require the same quantity for each.
If multiple shipments of different quantities are required the user may select the Multiple Shipments option quantity for each different
quantity and select the required addresses for each.
View screens for " Pull from Previous Job Number" Option.
Note:
If the user has selected either the "Multiple Shipments" or "Pull from Previous Job" option, the system will not display the screens shown in steps 4. Rather the system will proceed to Step 5.
Each shipment will be composed of one or several packages, where each package may (or may not) be uniquely identified
with a UPS or Federal Express Tracking Number.

Click an appropriate function button to add, edit, copy, or delete a package.
Note:
If the user has selected the "Multiple Shipment Option", the system will not display screens shown in step 4.
The Shipping screen for a typical shipment will appear as follows, where one or several shipments will be shown. When a shipment
is highlighted, the system will display the associated packages in the "Packages" display.
Shipping Screen (Shipments and Packages)

If the shipment includes a Finished Goods component, the label "Contains Finished Goods" will be displayed.
Shipping Screen (Finished Goods component included)
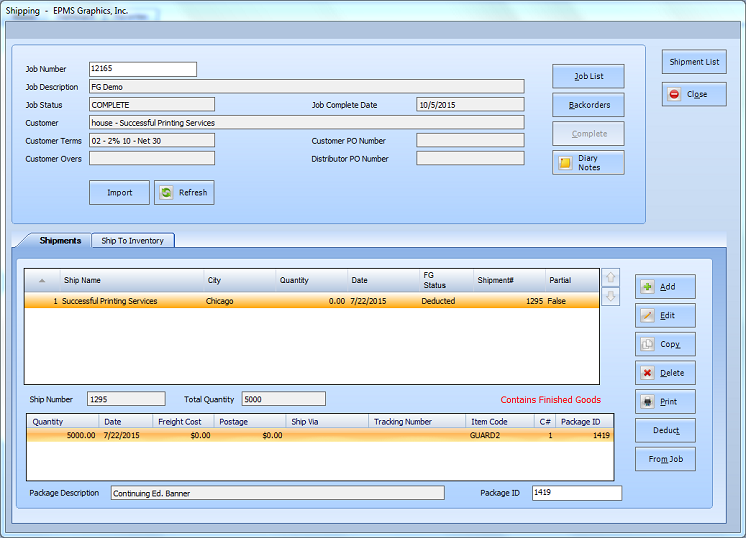
A Finished Goods shipment differs from a typical printing order in that an additional step must be taken, after shipping, to deduct the
items from Finished Goods Inventory.
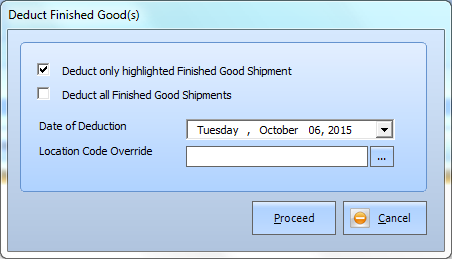
To enter the deduction, after the shipment has been entered, click Deduct and the system will display the "Deduct Finished Goods Shipments"
dialog screen. Select Yes or No as appropriate.
After the deduction has been entered, the Shipping screen will display "Deducted” for the shipment, as shown below.
Shipping Screen showing Finished Goods Deduction
