Accounting Periods
Updated June 15, 2024
The user will note that Accounting Periods will have to be entered for each accounting module independently. The user will want to ensure that the periods will be identically defined throughout the accounting system.
Prior to entering transactions and posting data, the user will be required to setup Accounting Periods. Once defined, the system will automatically maintain periods for each new year. The user will only need to edit the periods if the financial year dates are changed.
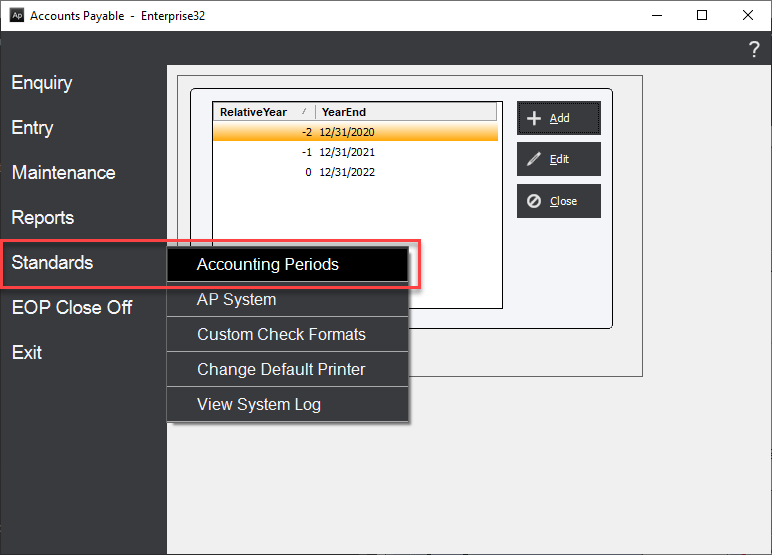
To define Accounting Periods in the Accounts Payable Module, click main screen button Miscellaneous/Accounting Periods (or select menu option Standards/Accounting Periods). The system will display the "Accounting Periods" screen.
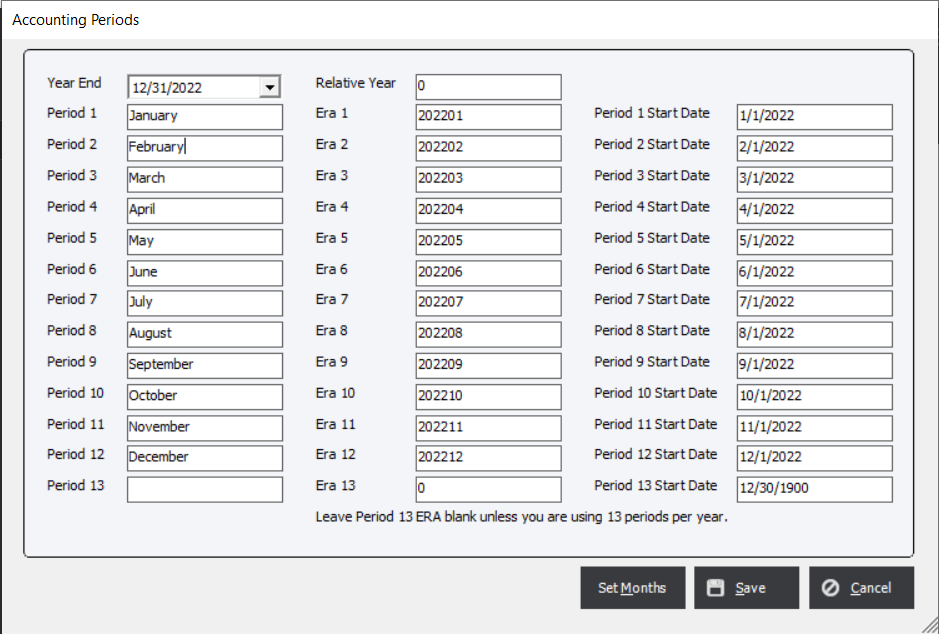
Accounting Periods Screen

Add
Initially, to add a new financial year:
1. Select a year end date using the drop-down list.
2. Enter a Relative Year. Relative Year is an integer that will signify the relationship to the current financial year, enter 0 (zero) for the current fiscal year. As an example, if March 31, 2022 is the year end date, then March 31, 2021 will be Relative Year "-1", and March 31, 2023 will be Relative Year "+1", and so forth.
3. Next, click the Set Months button and the system will automatically name the months of the year and will calculate their corresponding Eras. An Era is an accounting term that will be used in this module to describe an Accounting Period. Each financial year will have 12 Eras, represented as the year with digits "01" to "12" appended, as shown in the previous screen capture.

Click Save to save the financial year information.
Edit
|
Note Extreme care must be taken if the user intends to edit an existing year because changing the existing months or eras may cause system integrity errors with existing transactions. |
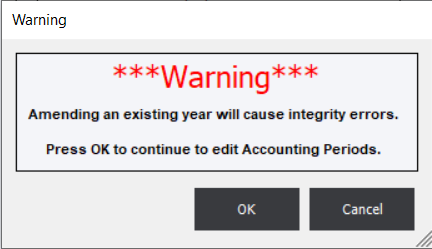
If the user is attempting to edit an accounting period, the system will display the following warning message:

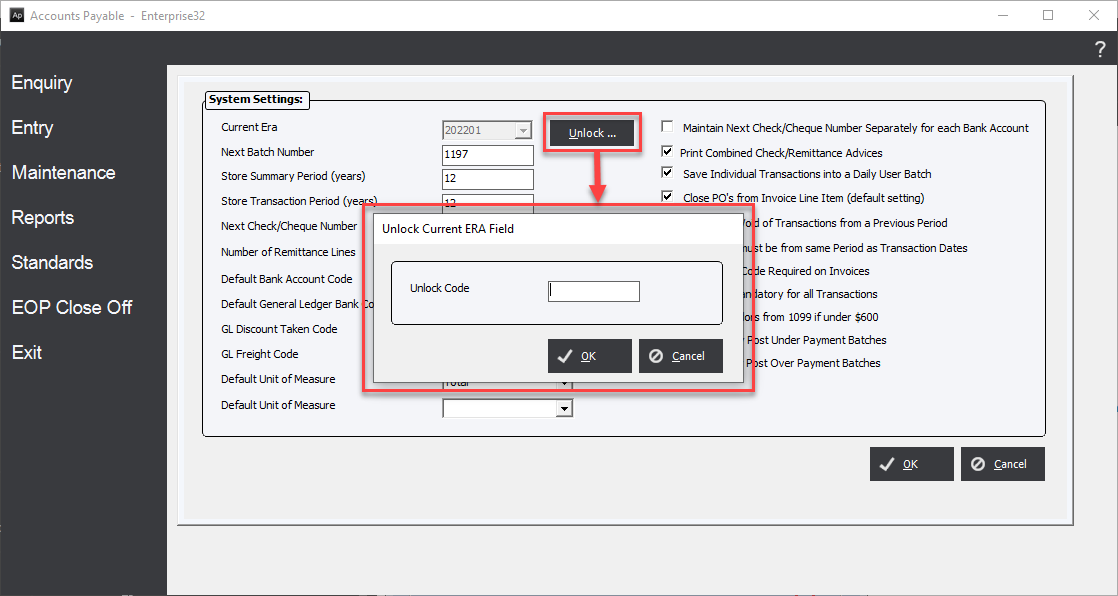
If for some significant reason the Current Era must be revised (highly unusual), the user will be required to contact EPMS for an Unlock... code.
