Ink Templates
Updated December 7, 2021
Ink Templates are useful to help create predefined sets of inks that can be brought into an estimate or used in a wizard.
Access Ink Templates from the Wizards menu in File Maintenance.

From the Wizards module the user can Add or Edit an Ink Template.
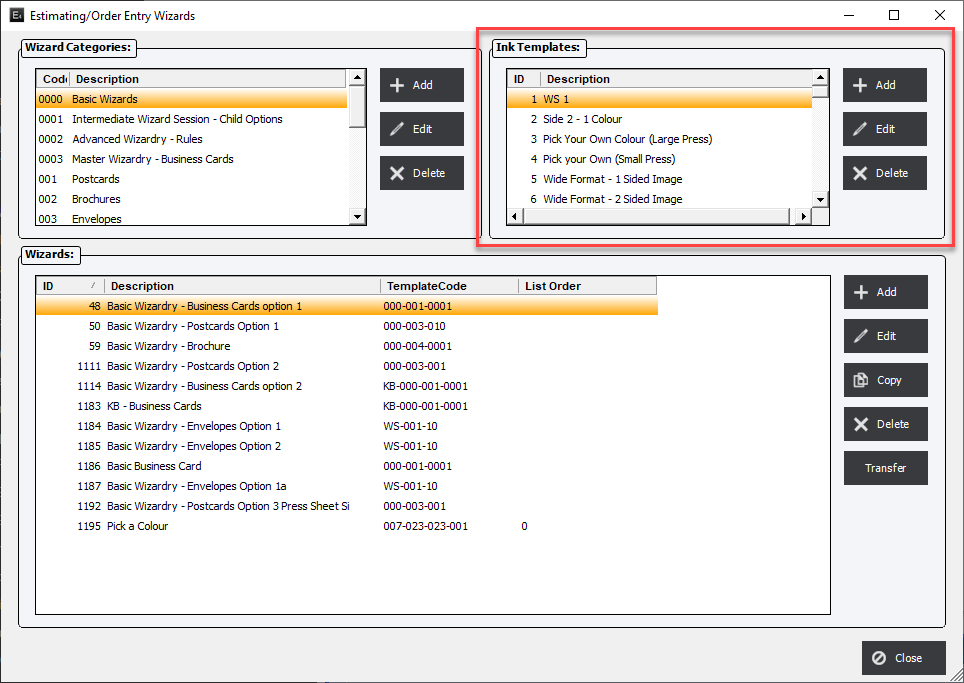
From the Ink Template screen enter the Description and select options.
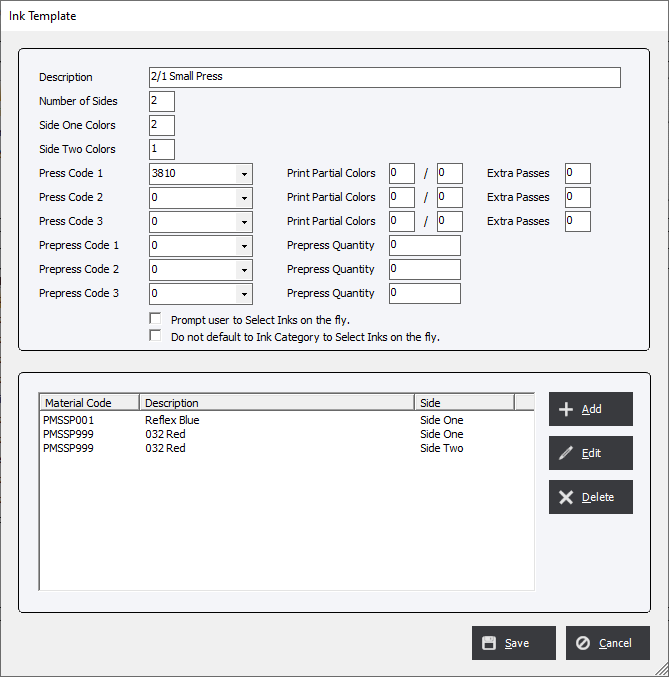
Description: Enter in a description that will be easy to understand when selecting it from an estimate or order.
Number of Sides: Valid enters are 1 and 2.
Side One Colors: Must be greater than 1.
Side Two Colors: Must be greater than 0.
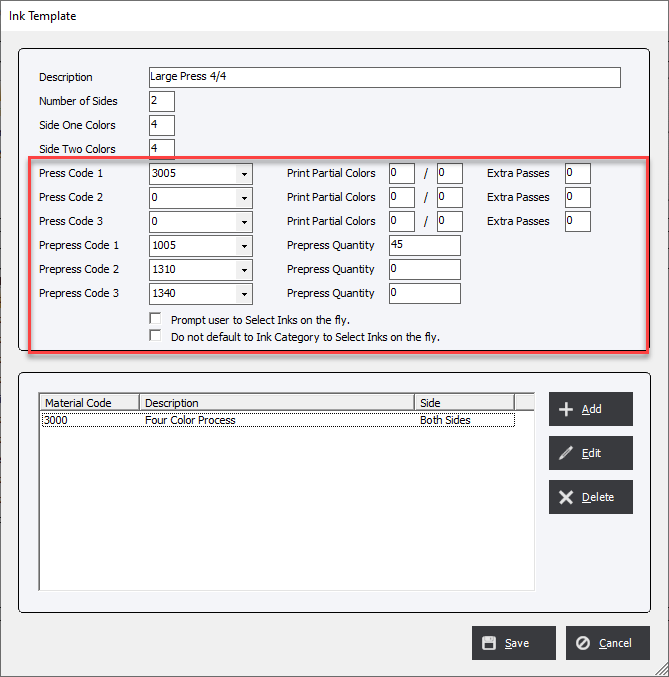
Wizard Options Section : The highlighted selection below allows advanced options that will help automate the addition of prepress and press process when creating wizards.
Adding an Ink Template Item.
Add an ink material item by first clicking the Add button or the Edit button to edit an existing material.
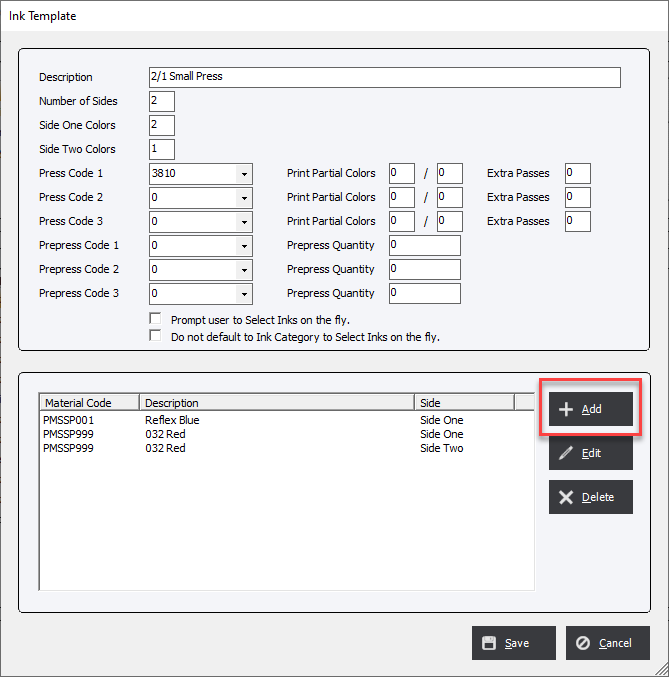
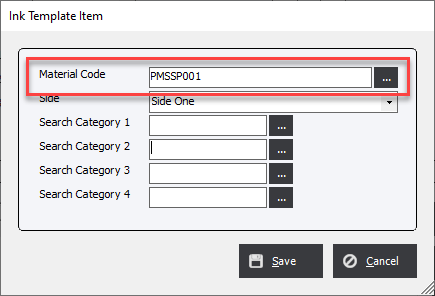
Select the Ink from the drop down. The list presented is the Ink List from the Materials/Ink category.
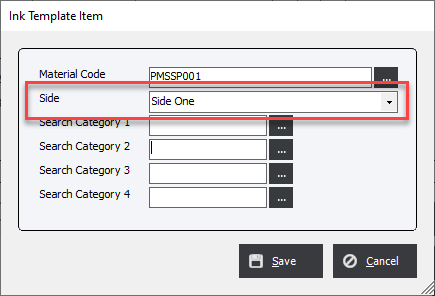
Select Side One, Side Two or Both Sides from the drop down. NOTE: if the Number of Sides is defined as 1 in the first screen the only Side One will be an option.
Click Save to save the item.
Using Ink Templates in estimates and orders.
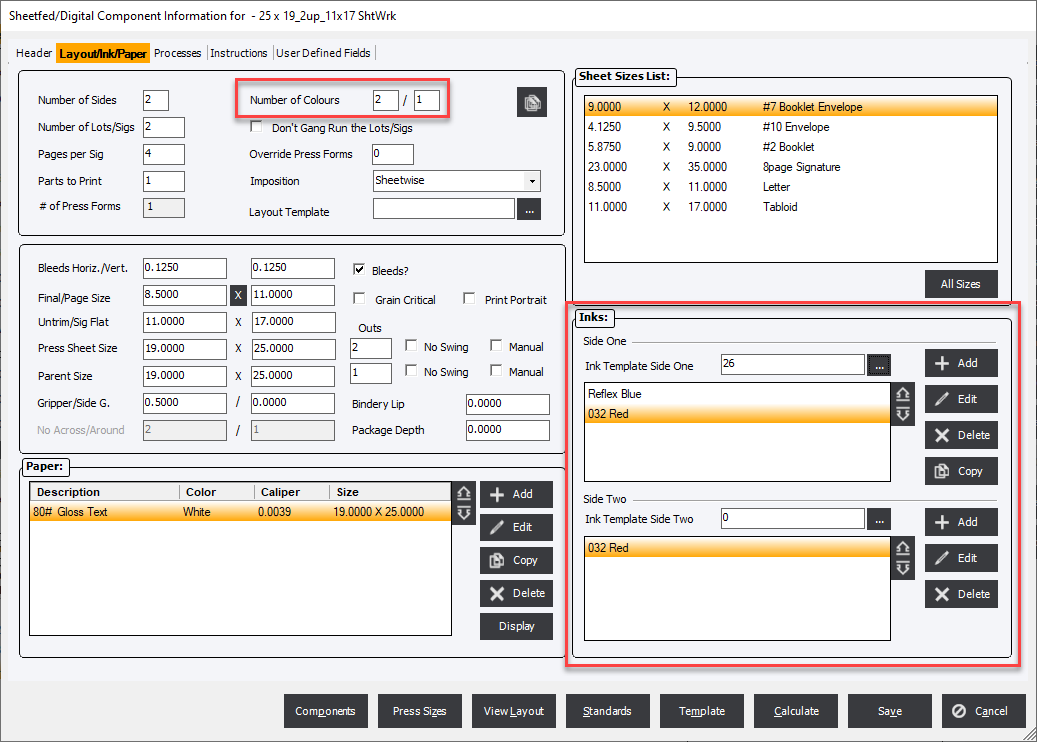
When this Ink Template is selected for the estimate or order the Number of Inks and the Inks Material will be overwritten with the selected Ink Template information.
|
Important Feature When selecting an ink template from an estimate or order the number of sides will limit the ink selection to templates that match the number of sides. For example if the Number of Sides in the Layout/Ink/Paper tab is set to 1 then only 1 sided ink templates will be shown. |